


Prototyping and Testing
Portfolio
What is Prototyping about
One of my favorite courses is Prototyping and Testing Product Development (AM 376), where we focus heavily on bags and structured design. It's been a great way to get hands on with tools and processes I hadn't worked with much before laser cutting for pattern work, 3D printing for custom pieces, screen printing, and dye printing. I've also been spending a lot of time sewing bags and using machines that help me with that creation process. Another highlight is the experimenting we have done like using Bemis to laminate fabrics with branding built right in or to hide seam allowances, in a clean way. The whole course builds toward a final custom constructed bag of our making, which has pushed me to think about how all these different methods can come together in one cohesive piece. It's given me a much better understanding of how garments are actually constructed, how materials behave, and how modern production really works.


Project 1 - Laser Cut Leather Wallet
I had been needing a new wallet, although I wanted something that was classic, while also being extremely functional. I ended up creating something that blended the best of both worlds.
My leather wallet brings together classic making techniques and modern tools. Before touching any leather, I spent time prototyping in paper figuring out the layout, the proportions, how everything would sit together. Once that felt right, I moved into cutting the leather using a laser cutter, which gave me the clean, accurate cuts I needed. I also used laser edging to burn my logo into the piece, giving it a finished, personal touch that I think really ties it together.


Paper testing my design and creating complete
measurements for the final design


First Idea for my wallet, classic while extremely functional
Laser cut testing, making sure my logo was clear on fabric

Full laser cut leather sheet, ready to be assembled


Project 2 -
Deconstructed Bag
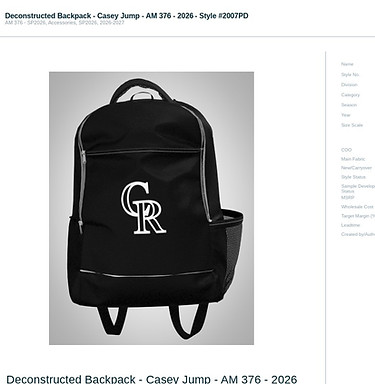
For project 2, I decided I wanted to challenge myself, and really work on my 3D modeling skills. I choose an old Rockies backpack from my house and took apart, rebuilding it first out of paper and secondly in 3D.
This process was incredibly helpful on my learning journey, I know much more about Clo3D as a modelling software as well as how to properly make an item appear how it would in real life. During my time I did have some challenges, as either my patterns wouldn't fit or the render would destroy itself, I overcame them.
While not particularly complex, this was challenging for me to bring to life. This backpack has two different pockets, a mesh water bottle holder, and multiple straps. I loved learning about how bags are constructed as well as getting to understand what I can do for my final project. Playing around with the materials and lighting to get it looking photorealistic was incredibly fun and valuable.

Paper Back Mockup of Bag

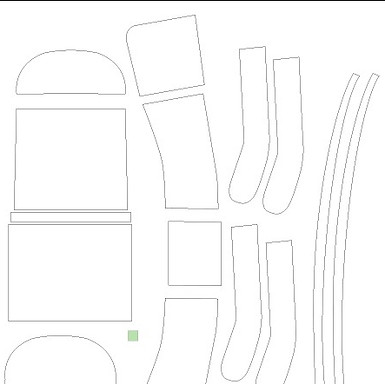
Pattern Pieces of my deconstructed Rockies Backpack

Paper Front Mockup of Bag
Click to View Tec Pack
Click to View Pattern Files


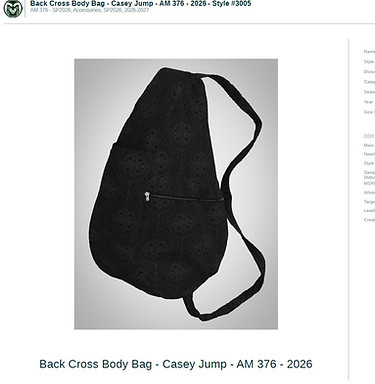
Project 3 - Final Sytnthesized bag
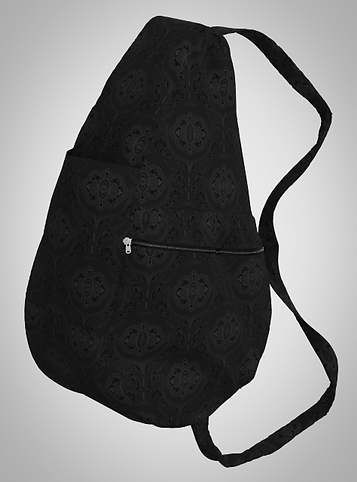
This final project would be a reflection of all my skills throughout the semester. This back cross body bag features three different pockets. One on each face and on going down the side going into the inside. I used laser cutting, dye sublimation printing, and bemis adhesion to elevate the bag.
I wanted to focus on creating something I would use, and something that was custom to me. While the overall design is nothing standout, its the functionality that made me love it.
During the process, I ran through challenges such as sewing structure, patterns not fitting, and applying the bemis to cover seams. All of this made me learn more about how construction works and what we can do to improve in the future
In the end, I am happy with how the bag turned out, while it may not be perfect, we are all human, and the flaws only make me love it more.
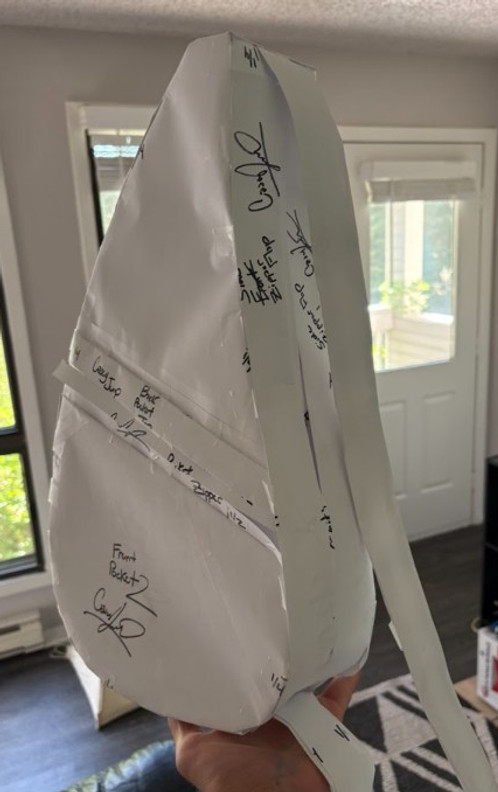
As part of making this final bag, we needed to conduct some protyping to determine of our design would work in practice. My first idea was to create a paper prototype that I could use to test how well the patterns matched up.
After making adjustments from the paper prototype patterns, I moved on to creating a test muslin replica of the final product. This was to ensure I understood the order of operations that were required to make the bag. While its not perfect, it does not need to be, and made me learn what to do for creating the real thing.


Back View 3D Render


Front View 3D Render
SideView 3D Render
Damask Print Tile
Corner View 3D Render
Sewing my muslin protype
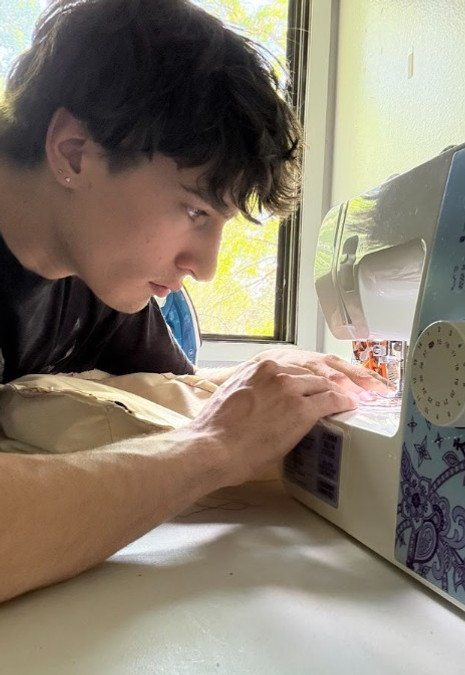
Sewing my final bag

The hardest challenge was trying to get the exact shape I desired. I had to make sure to add extra insulation in order to create a firm shape to the bag.
One of the ways I did this was by adding foam and other mesh based fabrics between the shell and inner lining to create my shape. Sewing it together was another pressure point, although with enough patience it turned out how I wanted it to.
Click to View Tec Pack

Click to View Pattern Files